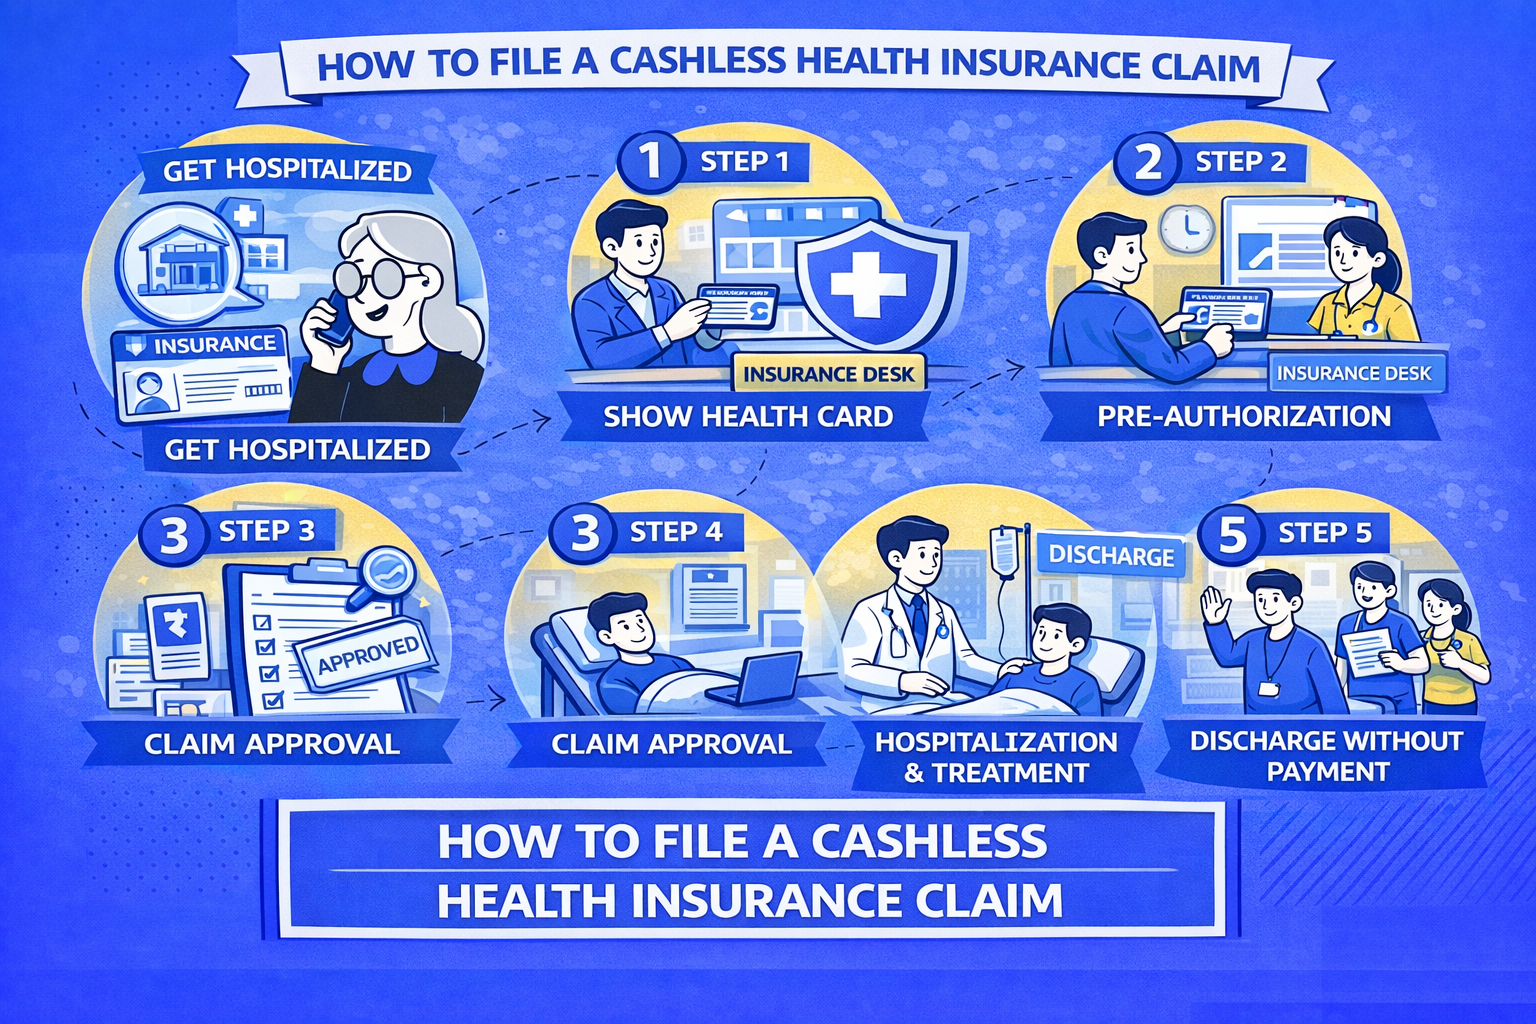
Cashless health insurance allows you to receive hospital treatment without paying out of pocket — the insurer settles the bill directly with the network hospital. The process involves a pre-authorisation step that both planned and emergency admissions require. Understanding each step prevents delays, partial approvals, and preventable out-of-pocket costs.
Before Hospitalisation: Preparation Steps
Verify Network Hospital Status
Before choosing a hospital for any planned procedure, verify it is in your insurer’s network. Go to the insurer’s website and search under “Network Hospitals” using the hospital name and city. Networks change — verify for each hospitalisation, not just once.
Keep Your Insurance Details Accessible
Have the following ready before reaching the hospital:
- Health insurance policy number
- Insurer name and cashless helpline number (print from the e-card)
- TPA name and helpline (if your insurer uses a TPA)
- E-health card or health card (available in most insurer apps)
For Planned (Elective) Procedures
Step 1: Inform the Insurer 3–5 Days in Advance
For planned surgeries, cancer treatment, or other elective procedures:
- Call the insurer’s cashless helpline 3–5 days before the procedure
- Provide: procedure name, hospital name, treating doctor’s name, estimated costs
- Request: pre-authorisation initiation number (confirm it is lodged in their system)
Why this matters: Pre-authorisation for planned procedures involves a medical review. Starting early ensures approval is obtained before the procedure date.
Step 2: Submit Pre-Authorisation at the Hospital
On admission day:
- Go to the hospital’s insurance desk or billing counter
- Present your e-health card and photo ID
- The hospital initiates a formal pre-authorisation request to the insurer/TPA (standardised NHCX form)
- The pre-auth includes: diagnosis, ICD-10 code, procedure, estimated cost, clinical notes
Step 3: Wait for Approval
- Insurer/TPA reviews the request (2–6 hours for standard procedures)
- Approval or query letter is sent to the hospital insurance desk
- If approved: you proceed with the procedure; the approved amount is locked
- If queried: hospital provides additional clinical information
Step 4: Procedure and Discharge
- Undergo the planned procedure
- At discharge, the hospital generates the final bill
- Hospital submits final bill to insurer; insurer processes settlement
- You pay: any co-pay, items not covered, room upgrades above policy limit, and the difference if the final bill exceeds the initial approval
For Emergency Admissions
Step 1: Admit and Seek Treatment Immediately
In an emergency, treatment comes first. Do not delay admission for insurance paperwork.
Step 2: Inform Insurer Within 24 Hours
Call the insurer’s cashless/claims helpline as soon as possible — ideally within 24 hours of admission. Most policies require this intimation period. Provide:
- Policy number and insured’s name
- Hospital name and treating doctor
- Diagnosis (if available)
- Estimated duration and procedure
Note: Some policies allow 48-hour intimation for emergencies. Check your specific policy’s emergency intimation window.
Step 3: Hospital Submits Pre-Authorisation
The hospital’s insurance desk submits the pre-auth request after emergency stabilisation. For emergency cases, a preliminary approval is typically issued quickly (30–60 minutes) to enable continued treatment.
Step 4: Ongoing Authorisation for Long Admissions
For ICU stays or extended admissions:
- The insurer may request clinical updates every 2–3 days
- Extension of authorisation is required for stays beyond initially approved duration
- The hospital’s insurance desk manages this process — stay informed of their interactions
Step 5: Discharge Settlement
At discharge:
- Hospital generates final itemised bill
- Submits to insurer for final settlement
- Insurer releases payment within 30–45 minutes of final document submission (for in-house teams)
- You receive a final settlement letter showing what was paid and any amounts you owe
What You Typically Pay at Discharge
Even with a cashless claim, out-of-pocket costs at discharge are common:
| Item | Why You Pay |
|---|---|
| Co-payment | Mandatory co-pay percentage in your policy |
| Room upgrade | If you chose a higher room category than your policy allows |
| Excluded items | Consumables (if not covered), cosmetics, OPD |
| Excess over approval | If final bill exceeds pre-authorised amount |
| Meals / Attendant charges | Generally excluded |
| Medicines bought outside | Pharmacy bills from outside the hospital |
When Cashless is Denied: Immediate Steps
- Do not leave the hospital — get the denial reason in writing from the insurance desk
- Call your insurer immediately — sometimes denials are processing errors corrected by a call
- Pay and claim reimbursement — if cashless is unavailable, pay the bills and file reimbursement within 15–30 days (per your policy’s reimbursement timeline)
- Keep all originals — discharge summary, all bills, prescriptions, investigation reports
- File grievance within 15 days — if the denial was incorrect, formal grievance escalation is the next step
Escalation Path for Cashless Disputes
- Level 1: Insurer’s Grievance Redressal Officer (GRO) — 15-day response window
- Level 2: IRDAI IGMS (igms.irda.gov.in) — submit complaint online
- Level 3: Insurance Ombudsman — free, binding resolution for claims up to ₹50 lakh (as per Insurance Ombudsman Rules, 2017, as amended in 2021)
Disclaimer: PolicyJack is an independent research platform. We do not sell insurance, receive commissions, or have commercial relationships with any insurer.